How to split screen on windows
Splitting the screen on Windows can be done in various ways, depending on the version of Windows you're using. Here are methods for Windows 10 and Windows 11:
Windows 11:
1. Snap Layouts:
- Hover over the maximize button in the title bar of a window.
- Choose a layout from the Snap Layouts options (e.g., 2x2, 3 columns, etc.).
2. Snap Groups:
- Open the apps you want to use.
- Right-click on an app in the taskbar and select "Show windows side by side" or "Show windows stacked."
3. Keyboard Shortcuts:
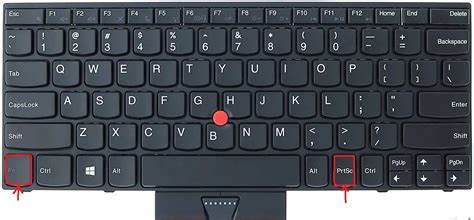
- Press `Win + Left Arrow` to snap the current window to the left.
- Press `Win + Right Arrow` to snap the current window to the right.
4. Task View:
- Open Task View by clicking on the Task View button on the taskbar or pressing `Win + Tab`.
- Drag a window to the desired desktop or select a layout.
Windows 10:
1. Snap Feature:
- Drag the window you want to split to one side of the screen.
- Release the mouse button, and the window will "snap" to that side.
- Open another window, and it will suggest snapping to the other side.
2. Keyboard Shortcuts:
- Press the Windows key + Left Arrow to snap the current window to the left.
- Press the Windows key + Right Arrow to snap the current window to the right.
3. Task View:
- Open Task View by clicking on the Task View button on the taskbar (next to the Start button) or by pressing `Win + Tab`.
- Drag a window to the desired desktop or select one of the available layouts.
Choose the method that suits your preference and workflow. Keep in mind that specific features may vary slightly depending on updates and changes to the Windows operating system.


0 Comments